 Newshot
用 Astro 和 Typst 生成 Open Graph 图像
博客文章的链接如果配有图像,会更好看。如果 HTML head 中有这样的 meta 标签,就会自动实现:
        <meta
  property="og:image"
  content="https://eaj.no/posts/graph-images-with-typst/og.png"
/>
我之前为这类图像所用的繁琐工作流是:去 unspash.com,搜索类似 structure 或 archive 的内容,然后选一张我认为会契合文章主题的图片。这件事既无聊又容易出错,所以我放弃了这个流程,改为搭建一条在构建时生成图像卡片的流水线。它们看起来像这样:
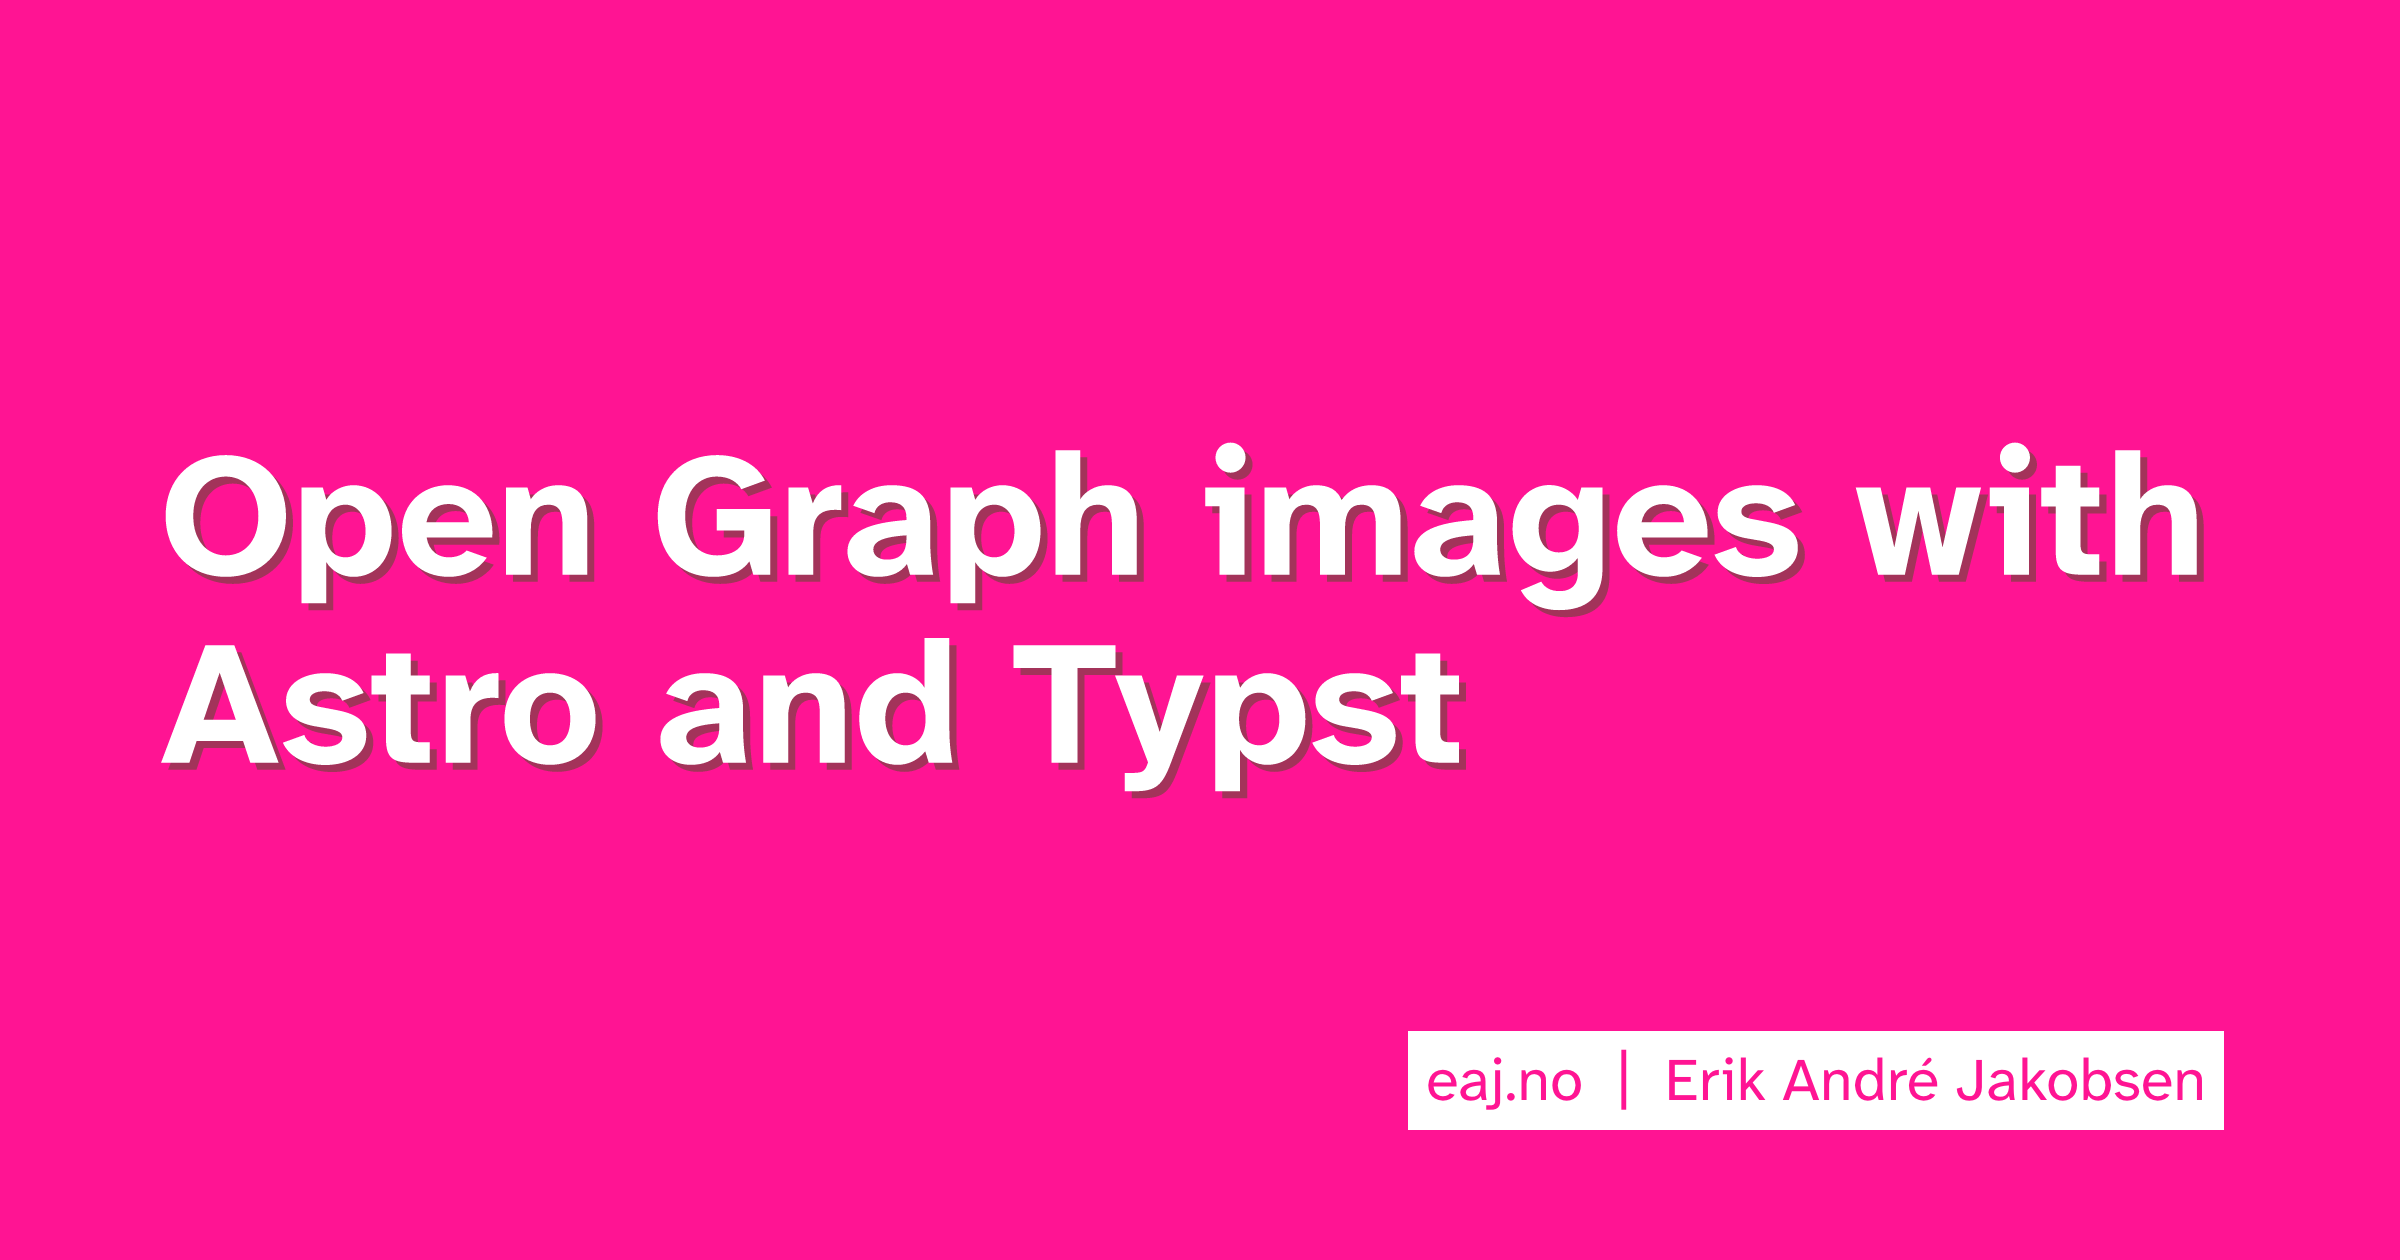
让我展示一下我是怎么做的。
Typst
Typst 是一个能从简单标记语言生成高质量文档的工具。它是 LaTeX 和 Markdown 的混血儿,在处理数学内容时很好用,同时也让日常文本格式化语法保持可接受。作为一个小示例,下面这个片段(改编自 Typst README)
        #set page(width: 10cm, height: auto, margin: 1cm)
#set heading(numbering: "I.")

#let fib_1 = 1
#let fib_2 = 1

= The Fibonacci sequence
The Fibonacci sequence is defined through the
recurrence relation $F_n = F_(n-1) + F_(n-2)$,
with $F_1 = #fib_1$ and $F_2 = #fib_2$.
It can also be expressed in _closed form:_

$
  F_n = round(1 / sqrt(5) phi.alt^n), quad
  phi.alt = (1 + sqrt(5)) / 2.
$
会生成这份不错的文档:
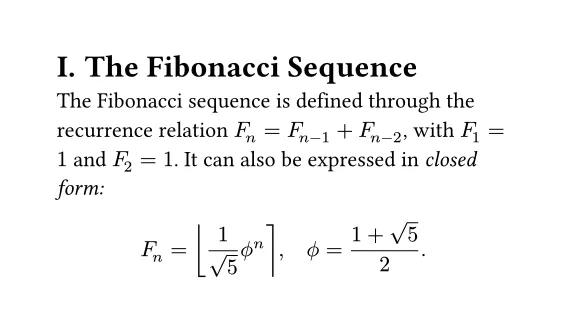
默认情况下,typst CLI 会创建 PDF,但它也可以生成 PNG。上面的图像是用以下命令创建的
        typst compile \
    --format png \
    --ppi 250 \
    typst-example.typ
但如果你更想创建一些更有花样的东西,当然可以。比如这样:
        #set page(width: 1200pt, height: 630pt, margin: 80pt, fill: rgb("#FF1493"))
#set text(font: "Comic Sans MS", fill: white, lang: "no")

#grid(
  rows: (1fr, auto),
  align(left + horizon, {
    text(size: 72pt, weight: 800, "Typst very nice")
  }),
  text(size: 24pt, "Would typst again"),
)
这会得到

如果我所有文章都叫“Typst very nice”,那就大功告成了,但可惜并不是。幸运的是,typst 可以通过 --input key=value 接受文档输入,这些输入会被放入 sys.inputs 字典供模板读取。于是模板变成
        #set page(width: 1200pt, height: 630pt, margin: 80pt, fill: rgb("#FF1493"))
#set text(font: "Comic Sans MS", fill: white, lang: "no")

#let title = sys.inputs.at("title", default: "You forgot the title :(")
// Reading the input here ☝️

#grid(
  rows: (1fr, auto),
  align(left + horizon, {
    text(
      size: if title.len() > 70 { 60pt } else { 72pt },
      weight: 800,
      title,
    )
  }),
  text(size: 24pt, "Would typst again"),
)
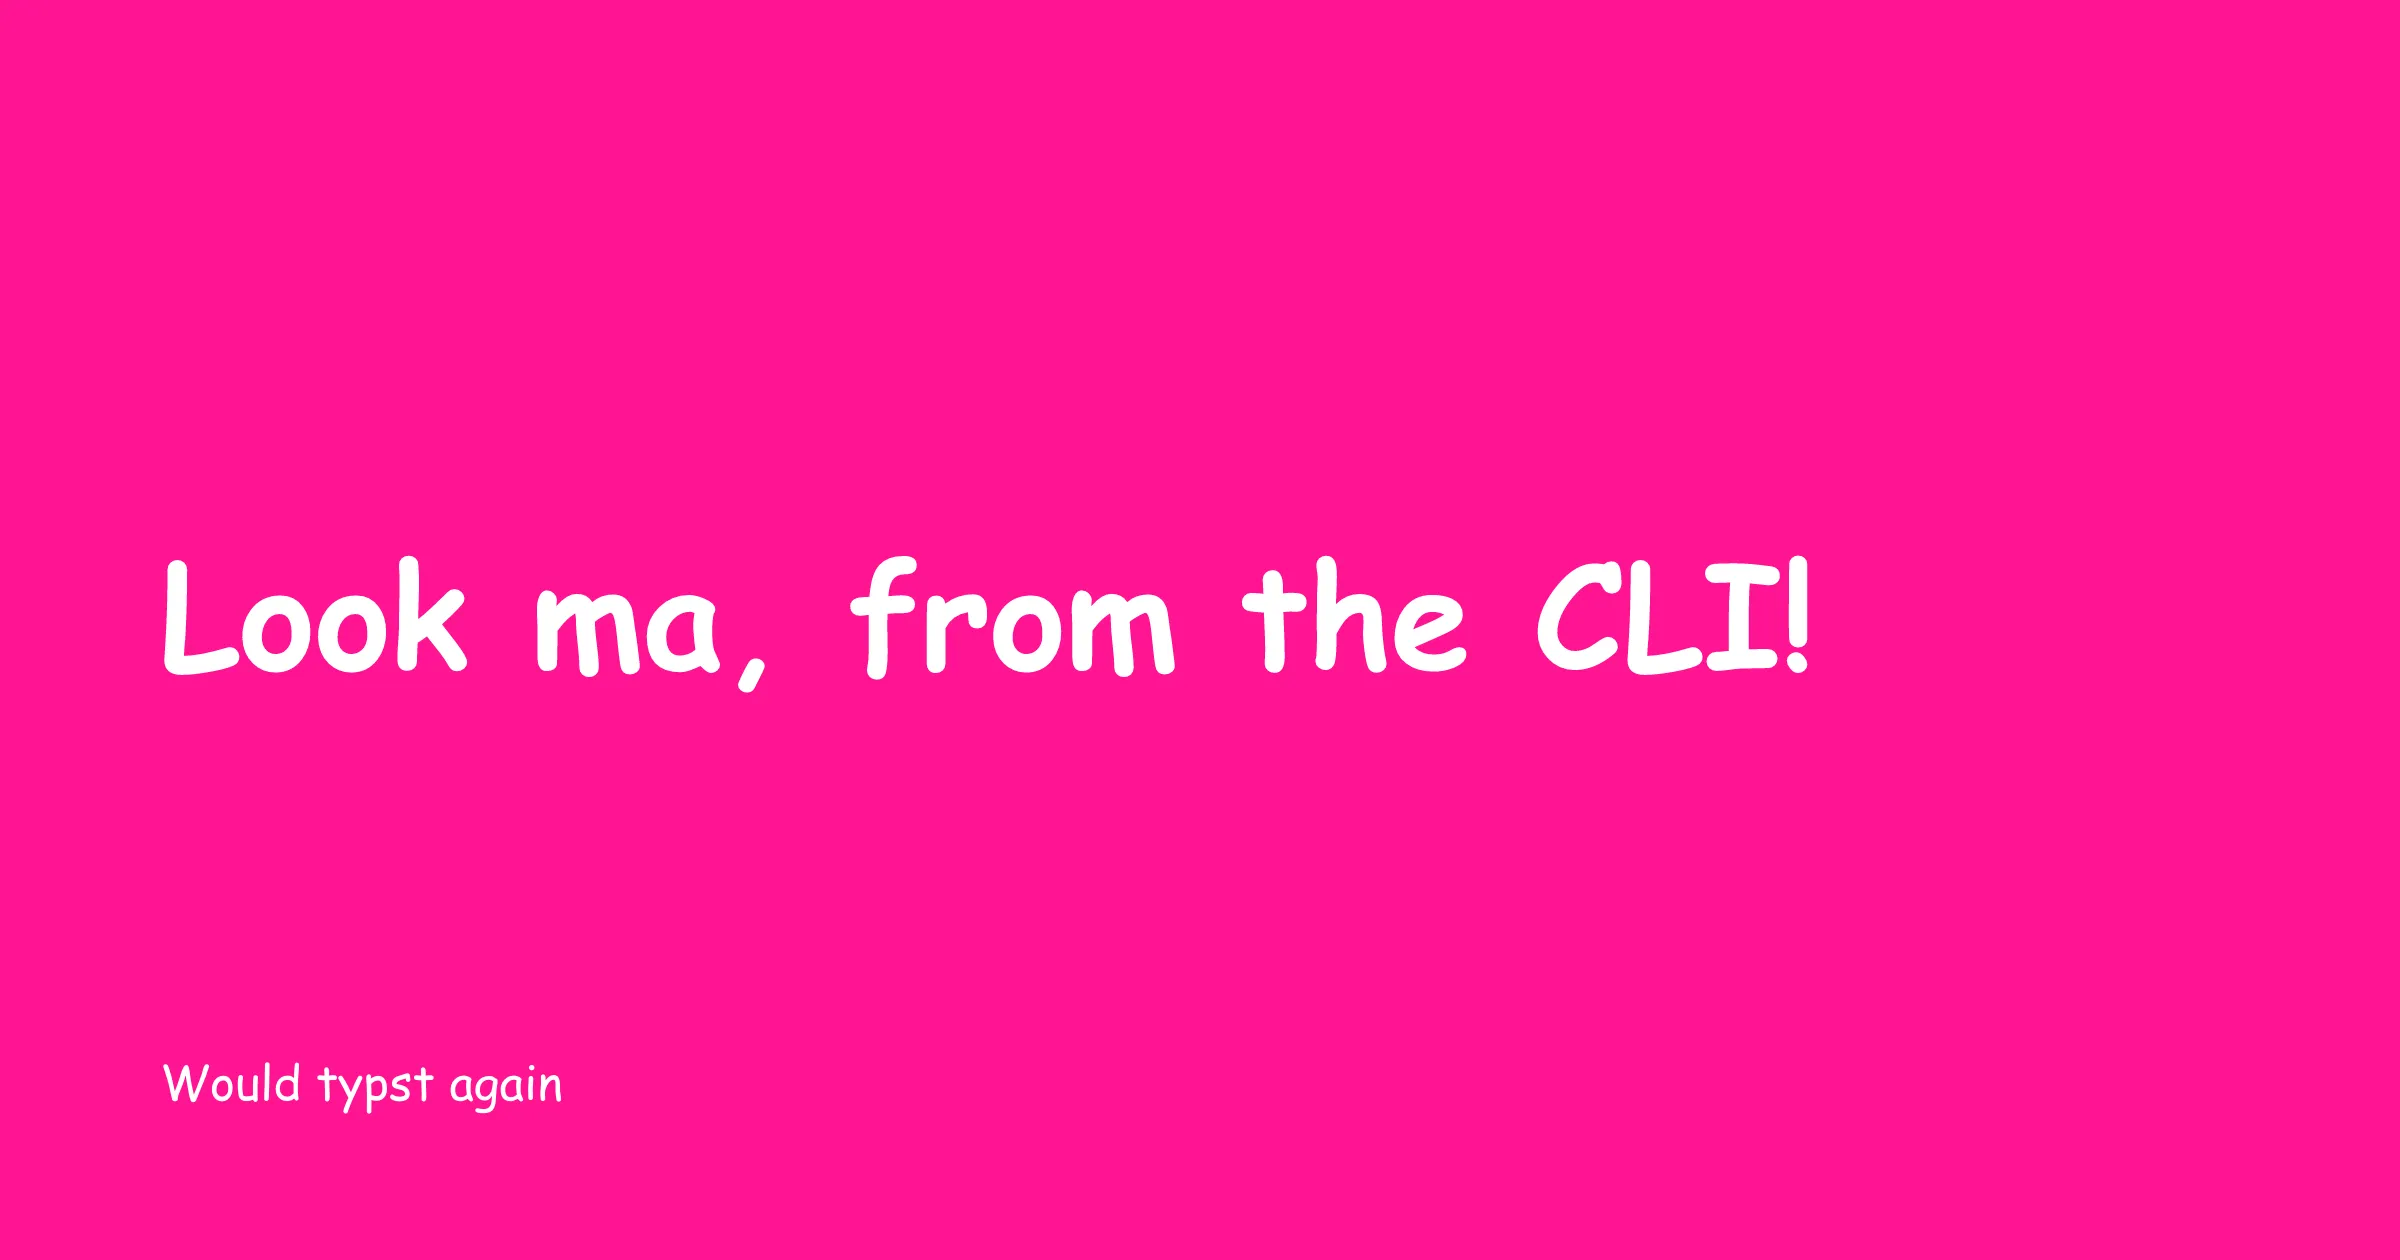
用以下命令渲染时
        typst compile \
    --format png \
    --ppi 144 \
    --input title="Look ma, from the CLI!" fancy-typst-with-input.typ
接下来继续看在构建时生成图像。
Astro
本站是用 Astro 构建的,它是一个静态站点生成器。文章用 Markdown 编写,然后由 Astro 打包进 Content Collection。细节无关紧要,重要的是,这让我可以定义元数据,并能通过 Javascript API 查询这些元数据。
页面模板的源代码位于 src/pages/posts/[id].astro。关于这个文件路径,有几点值得注意:
- 它位于 src/pages/ 目录中,这告诉 Astro 它应被渲染为一个页面。
- 路径的其余部分 /
换句话说,Astro 在构建站点时需要知道每一个 ID——它无法生成无限多个 ID。从模板导出的名为 getStaticPaths 的函数定义了集合:
        import type { GetStaticPathsResult } from "astro";
import { getCollection } from "astro:content";

export async function getStaticPaths(): Promise<GetStaticPathsResult> {
  const posts = await getCollection("posts");
  return posts.map((post) => ({
    params: { id: post.id },
    props: { post },
  }));
}
也就是说,获取每一篇文章,并用它的 id 作为 id 参数。这是为当前页面返回的对象:
        {
  params: { id: "open-graph-images-with-typst" },
  props: { post: {
    /* Everything the template needs to render a post */
  }}
}
默认情况下 Astro 会生成 HTML 文件,但它也可以返回其他类型的响应。伴随这篇博客文章,我还在 src/pages/api/build-info.json.ts 放入了以下代码片段:
        import type { APIRoute } from "astro";

export const GET = (async () => {
  const data = await getLatestJjMetadata();
  return new Response(JSON.stringify(data), {
    headers: { "content-type": "application/json" },
  });
}) satisfies APIRoute;

async function getLatestJjMetadata(): Promise<{
  changeId: string;
  committedAt: Date;
}> {
  // Implementation cut for brevity
}
注意方括号里没有参数,因此这会在构建时创建一个单独的 JSON 文件:
        ❯ tree dist/api
dist/api
└── build-info.json
就这样,这个博客现在有了一个 JSON API。
注意路径中包含文件扩展名,即 .json.ts。这是因为开发服务器运行时,它会设置适当的 content-type 标头,让浏览器知道如何处理响应;但页面构建完成后,结果是一个去掉了 .ts 的文件。浏览器随后会解释剩余的文件扩展名,以了解该路径下应期待什么内容。
你可能已经看出接下来要做什么了:创建一个 API 路由,它接收文章 ID 作为参数并以 .png.ts 结尾,使用 Astro Content Collection API 获取文章标题,生成图片,并在带有适当 content-type 标头的响应中返回它。
你猜对了。下面是完整的 open graph 图片端点,定义在 src/pages/posts/[id]/og.png.ts:
        import type { APIRoute, GetStaticPaths, InferGetStaticPropsType } from "astro";
import { getCollection } from "astro:content";
import { execFile } from "node:child_process";
import { promisify } from "node:util";

import { OPEN_GRAPH_TEMPLATE_PATH } from "@/utils";

const execFileAsync = promisify(execFile);

export const getStaticPaths = (async () => {
  const posts = await getCollection("posts");
  return posts.map((post) => ({
    params: { id: post.id },
    props: { title: post.data.title },
  }));
}) satisfies GetStaticPaths;

type Props = InferGetStaticPropsType<typeof getStaticPaths>;

export const GET = (async ({ props }) => {
  const { stdout } = await execFileAsync(
    "typst",
    [
      "compile",
      OPEN_GRAPH_TEMPLATE_PATH,
      "-",
      "--format",
      "png",
      "--ppi",
      "144",
      "--input",
      `title=${props.title}`,
    ],
    { encoding: "buffer" },
  );
  return new Response(new Uint8Array(stdout), {
    headers: { "content-type": "image/png" },
  });
}) satisfies APIRoute<Props>;
现在访问 eaj.no/posts/open-graph-images-with-typst/og.png,瞧:
加分项:缓存破坏
当分享平台加载某篇文章的图片时,它很可能被缓存很长时间。即使你决定彻底重做整个品牌设计,除非你处理这个问题,否则 LinkedIn 可能会坚持显示你之前那副难看的设计。一个简单的技巧是使用一个一次性的搜索参数,它除了让 URL 唯一之外不做任何事:
/some-image.png?v=whatever
创建一个直接(但有点傻)的解决方案来生成这个参数,就是在每次构建站点时生成一串随机字符,确保你的图片始终被重新获取。我最终采用了对 typst 模板和标题进行哈希的方案,这样缓存键只会在实际内容变化时才会改变:
        import { createHash } from "node:crypto";
import { readFileSync } from "node:fs";

export function openGraphImageCacheBuster(title: string): string {
  const template = readFileSync(OPEN_GRAPH_TEMPLATE_PATH);
  return createHash("sha256")
    .update(template)
    .update(title)
    .digest("hex")
    .slice(0, 10);
}